Resources
- Home
- Resources
FEEDING BEES
- Supplement VS Subsitute
- Feeding Sugar Syrup
- Feeding Syrup
- Hive Feeders
- Feeding Pollen
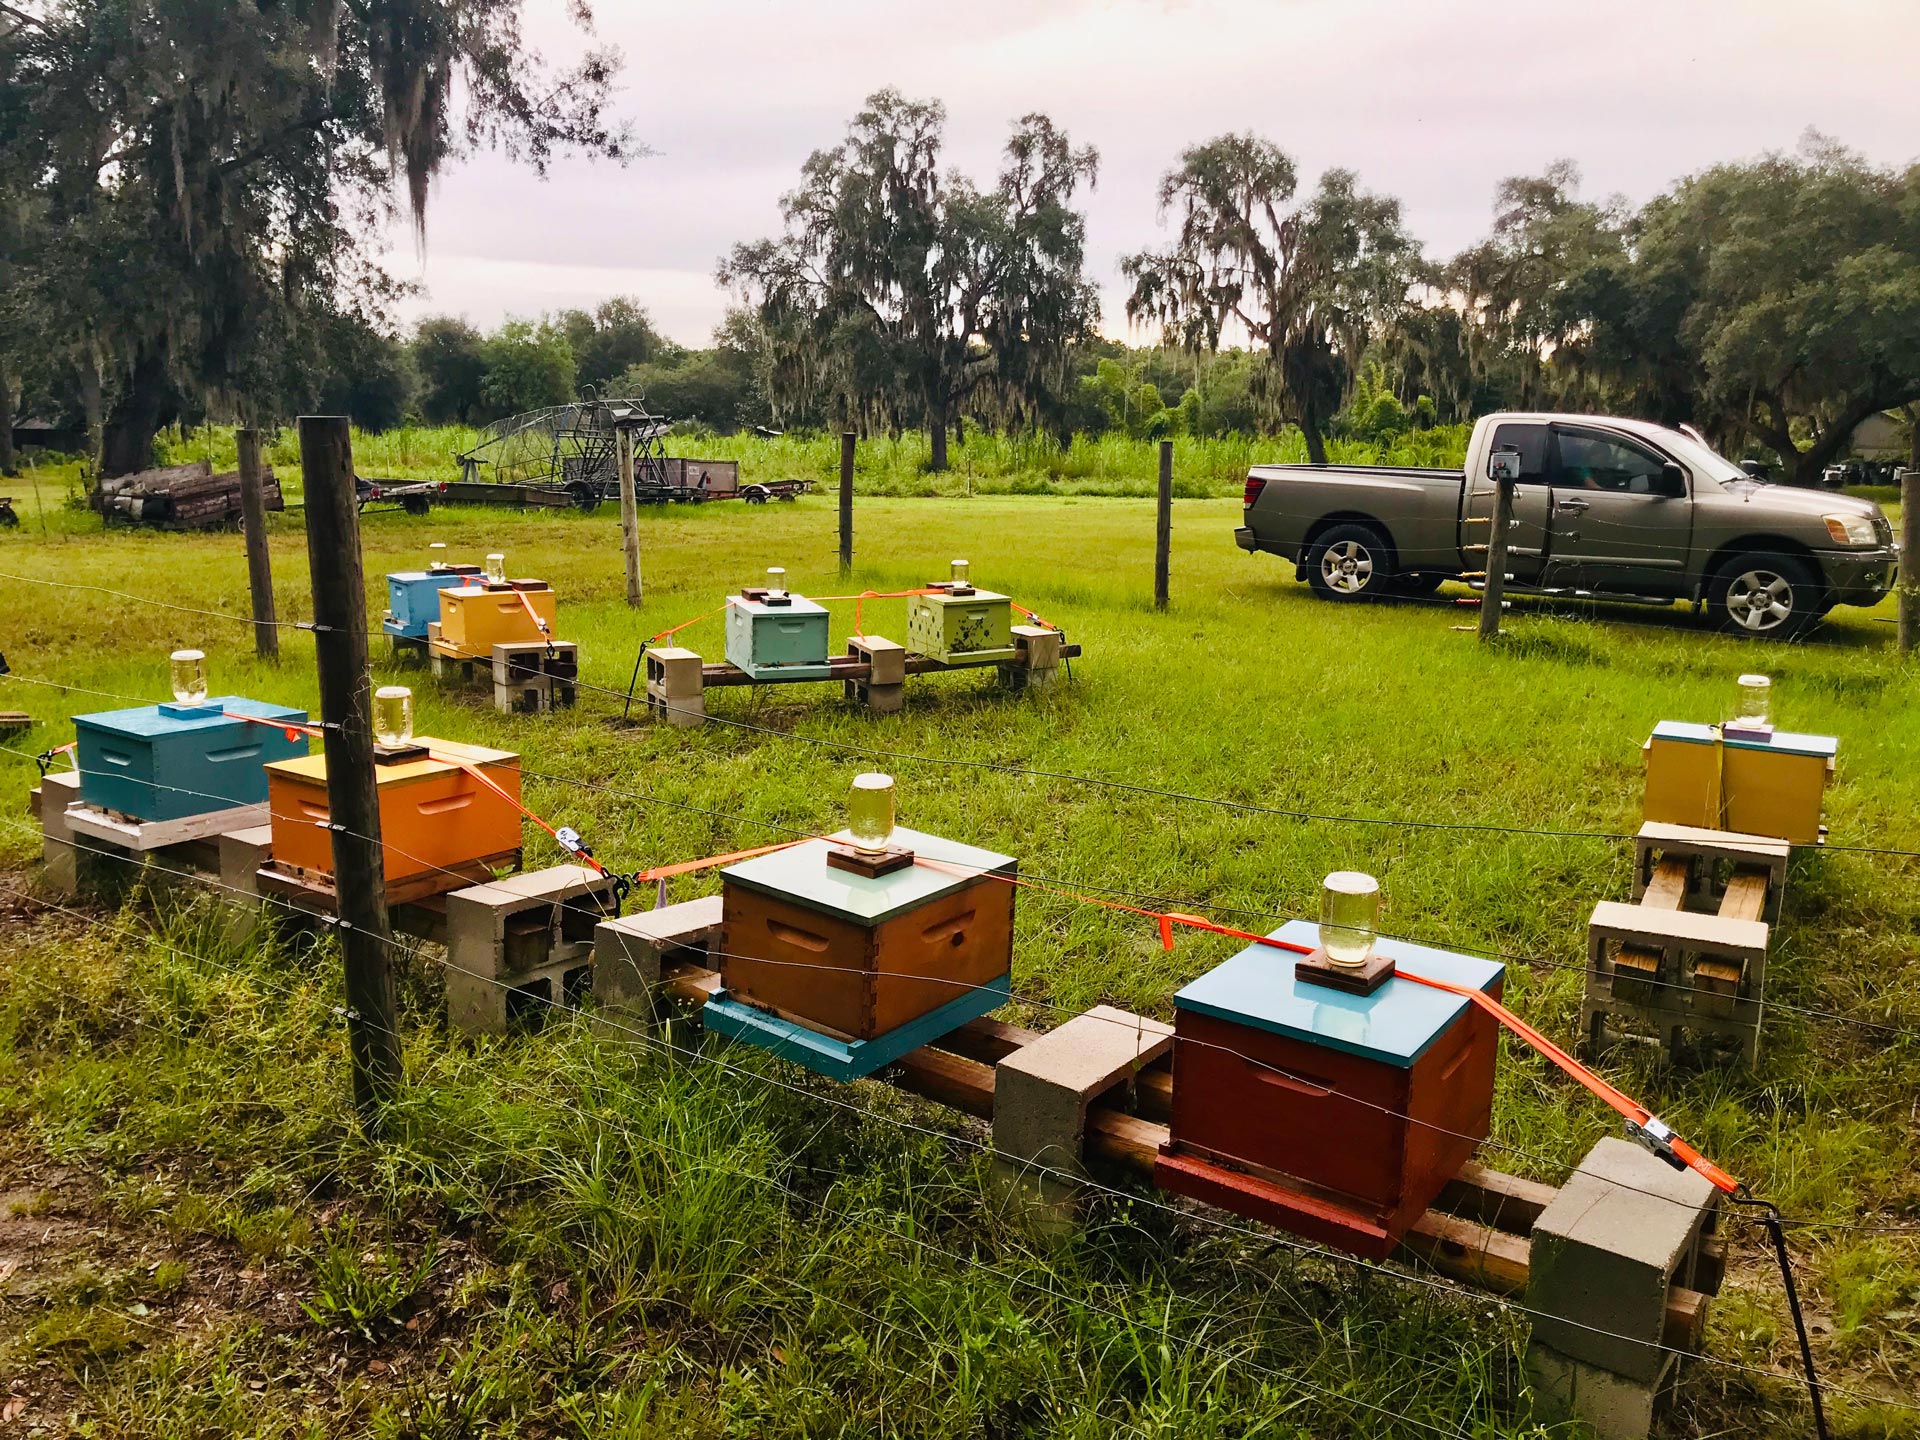
Supplement - implies that the food source is available to the colony in the field but is of either poor quality or the quantity is restricted.
Substitute - suggests there is no pollen or nectar naturally available to a colony and a complete substitute is required by the colony for brood rearing or survival.
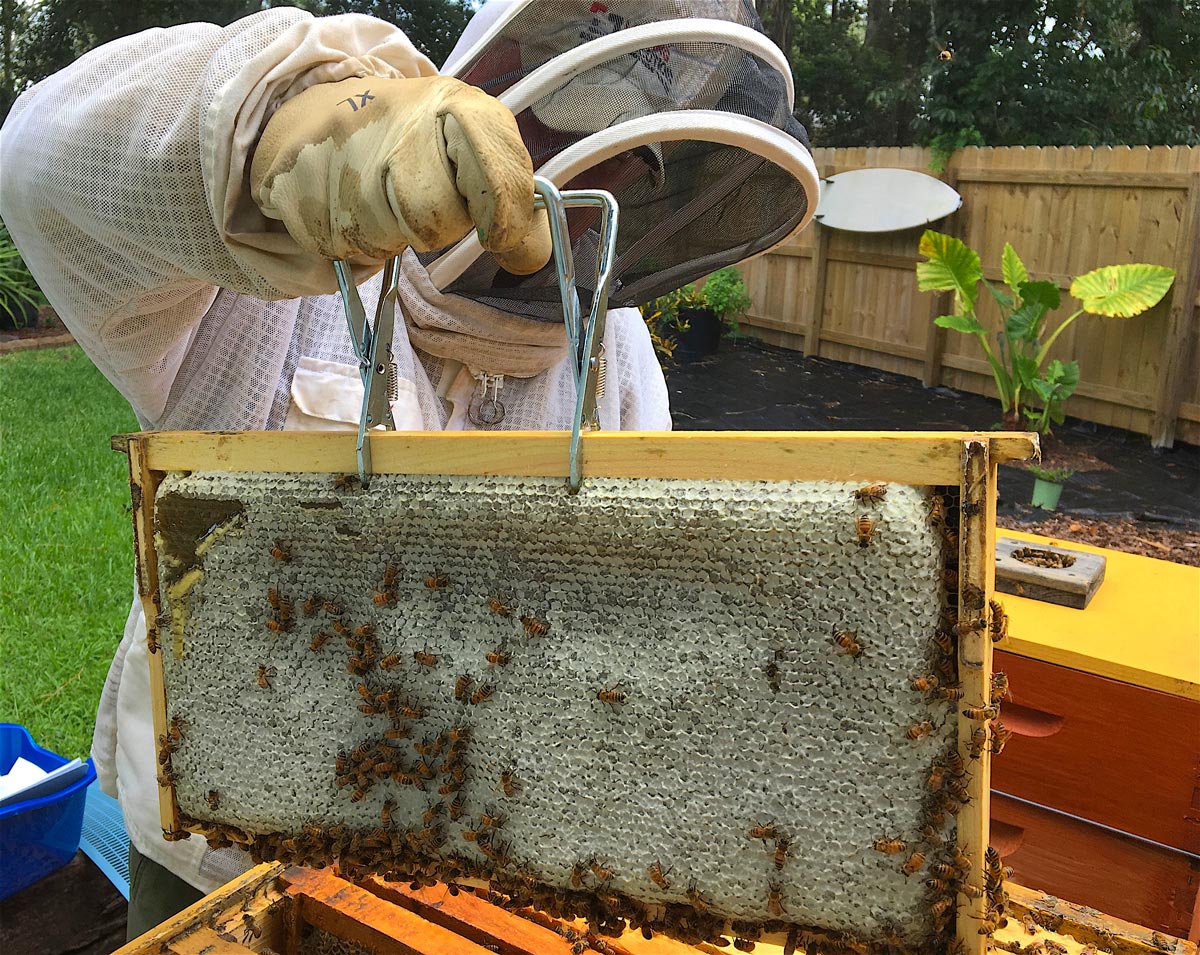
Sugar syrup is fed to hives to increase food stores and encourage colony growth. The syrup is usually a mixture of sugar water.
Beekeepers feed
- 1:1 (by volume) sugar:water in Spring and Summer
- 2:1 sugar:water in Fall and Winter.
If mixing your own sugar water, you can heat the mixture so that the sugar dissolves more easily. Beekeepers can use other sugar sources such as high fructose corn syrup. Supplements and pest control products can be added to the solution per label directions.
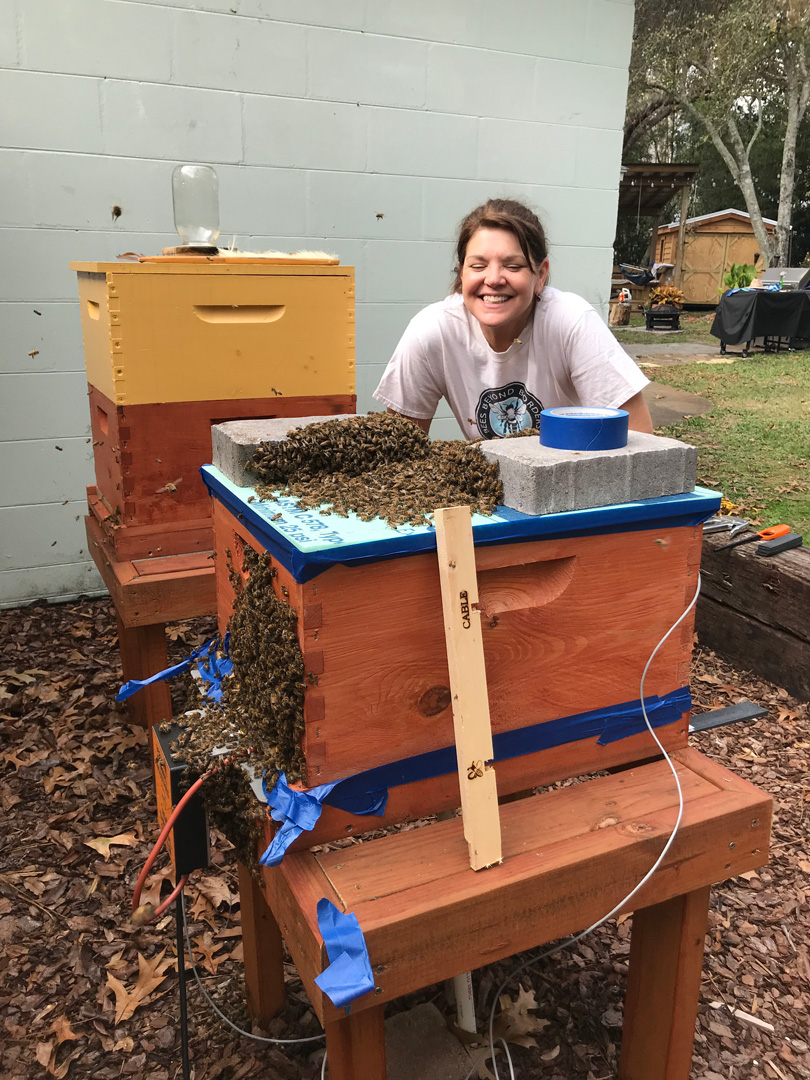
This solution should not be fed to bees once natural nectar flow begins if hives are used for honey production.
You will need to monitor your colony to determine when your bees need supplemental syrup.
Check for stored honey in the hive. Use the "hoist test";
- Lift up the back of the hive to gauge its weight.
- Do this regularly to get a sense of weight change over time.
- In this way, you can quickly and frequently check on food storage without disturbing the colony.
You can also get an idea of a hive's nectar resources by monitoring the amount of supplemental food from external feeders.

- Bees take food well when it is placed above them.
- External feeders can promote robbing.
- Internal feeders are had to assess and access.
- Hive top feeders hold more syrup, but it can become rancid if not taken fast enough.
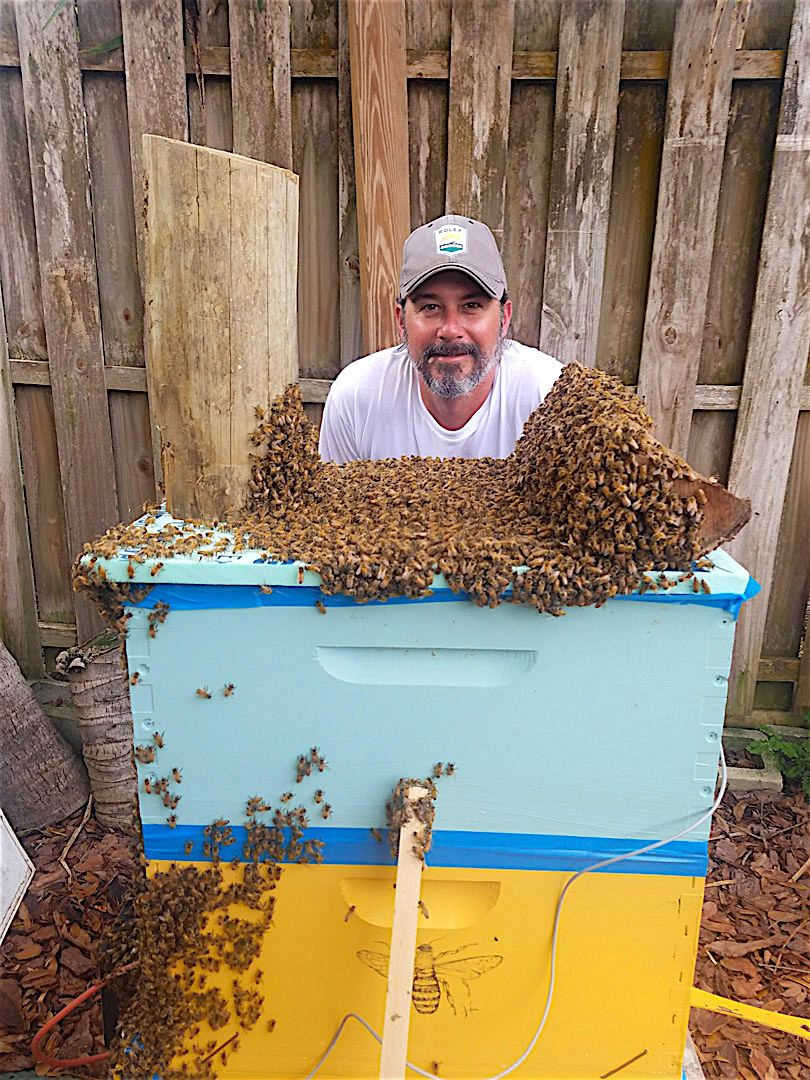
A pollen supplement can be used to offset poor quality or unavailable pollen and encourage colony growth. Supplements can be made of pollen, bee bread, soy flour, yeast, vitamins, minerals and/or amino acids.
They are sold in solid patties that are fed directly to the colonies. If used appropriately, the pollen supplement can lead to increased brood production.
However, it also can be a magnet for hive pests (notably, small hive beetles) so use only as much as your bees will consume in a 3-7 day period. A spacer can be added to your hive to create extra space for a pollen patty to fit above the brood chamber.
Research is not conclusive on how beneficial pollen supplements are for honey bee colonies. Pollen supplements are not typically used if bees are collecting pollen on their own.
However, some beekeepers use pollen supplements when;
- bee flight is restricted
- when colonies are weak
- when experiencing pollen-deficient honey flows
- when a pollen source is doubtful of quality
BASIC SWARM MANAGEMENT TECHNIQUES
- SWARMING
- SWARM STIMULANTS
- SWARM MANAGEMENT
- QUEEN MANAGEMENT
- SUPERING COLONIES
- EQUALIZING COLONIES
- MAKING SPLITS
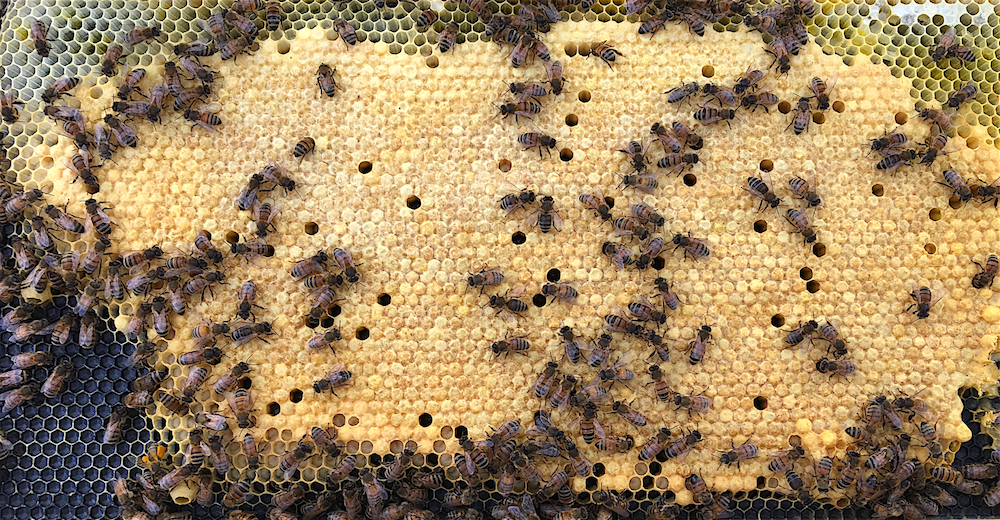
Swarming is a natural part of the lifecycle of a honey bee colony. When a managed colony swarms, the beekeeper loses 30-70% of their bees ... AND THE QUEEN!
The colony that remains at the original nest site must produce a new queen and rebuild its population after the new queen begins to produce offspring.
THIS REBUILDING PERIOD CAN TAKE 4-8 WEEKS.
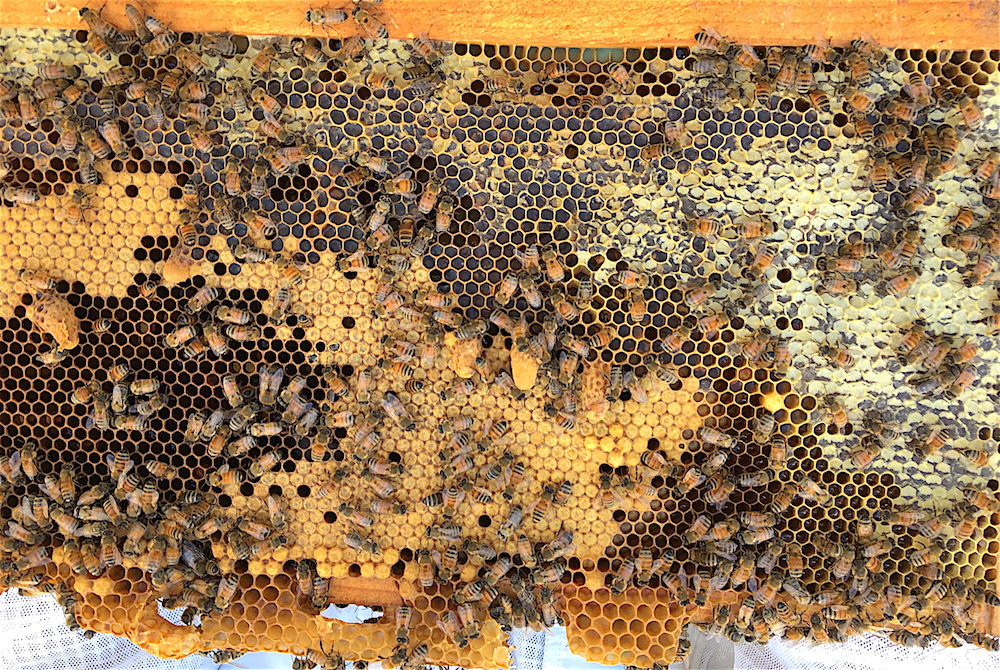
Stimuli that lead to swarming include:
- Colony Congestion
- Lack of cells in which to lay eggs
- Dilution of the queen's pheromones
- Drone production
- Increasing nectar availability
- Presence of queen cells
- Lengthening daylight
- Warming weather
- An aging queen
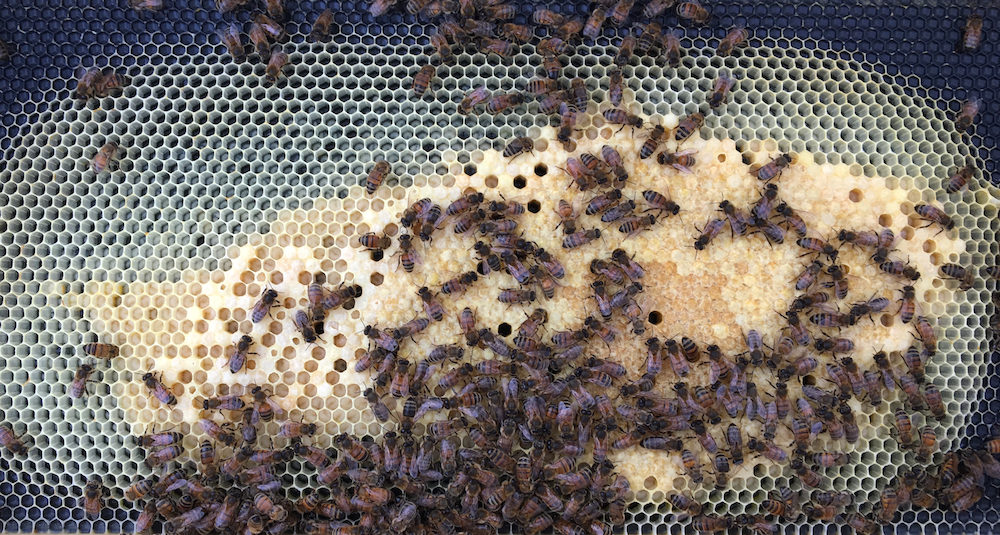
There are six basic practices that a beekeeper can use to limit the stimuli that lead to swarming. They vary in efficacy.
- Remove queen cells from hives every 7-10 days during swarm season.
- Requeen the colony.
- Clip the queen.
- Super the hive.
- Equalize colonies.
- Make splits.
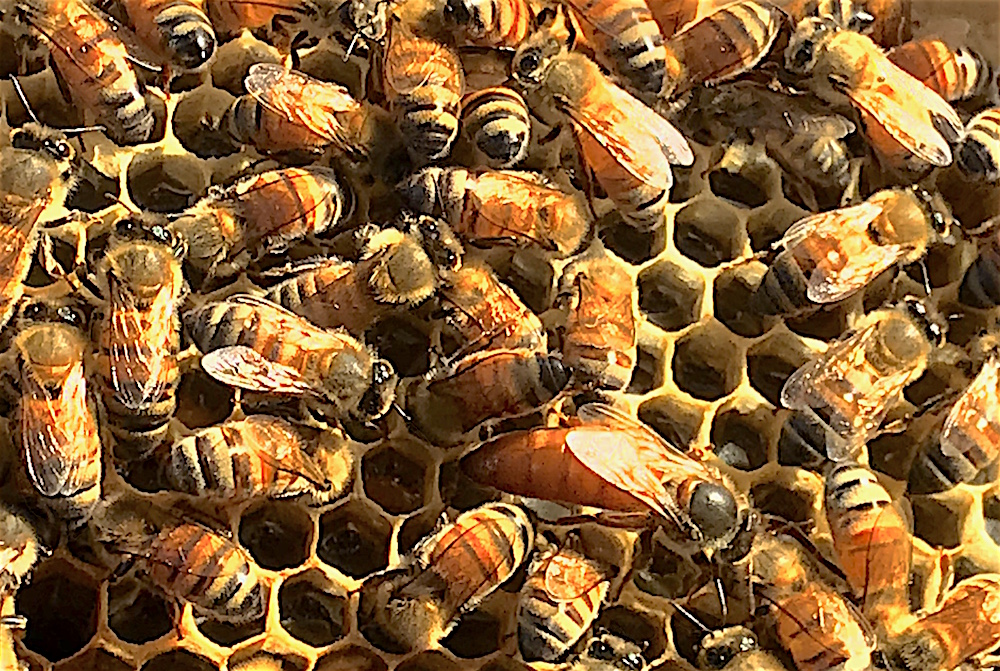
The presence of capped swarm cells (queen cells) in a hive is the final stimulus that leads to a colony to swarm. Removing swarm cells from the hive every 7-10 days can reduce swarming tendencies by making the colony unprepared to swarm. Shake the bees off of each frame to make it easier to find and destroy all swarm cells in the hive. Confirm queen presence in hive prior to cell removal.
Requeen colonies annually. This eliminates one swarm stimulus (an aging queen). Clip the queen's wing. This prevents her from flying, decreasing their ability to swarm. These techniques will delay but not eliminate swarming entirely.

Adding a super creates more space for food and storage. When using a queen excluder, supers are added above it. Any boxes below the queen excluder will become brood chambers that provide more space for the queen to lay eggs.
In warm climates honey supers should only be added to the top of a hive when the hive box below it is at least 75% full. Providing bees with too much space, too quickly, leaves parts of the hive unguarded and vulnerable to hive pests.
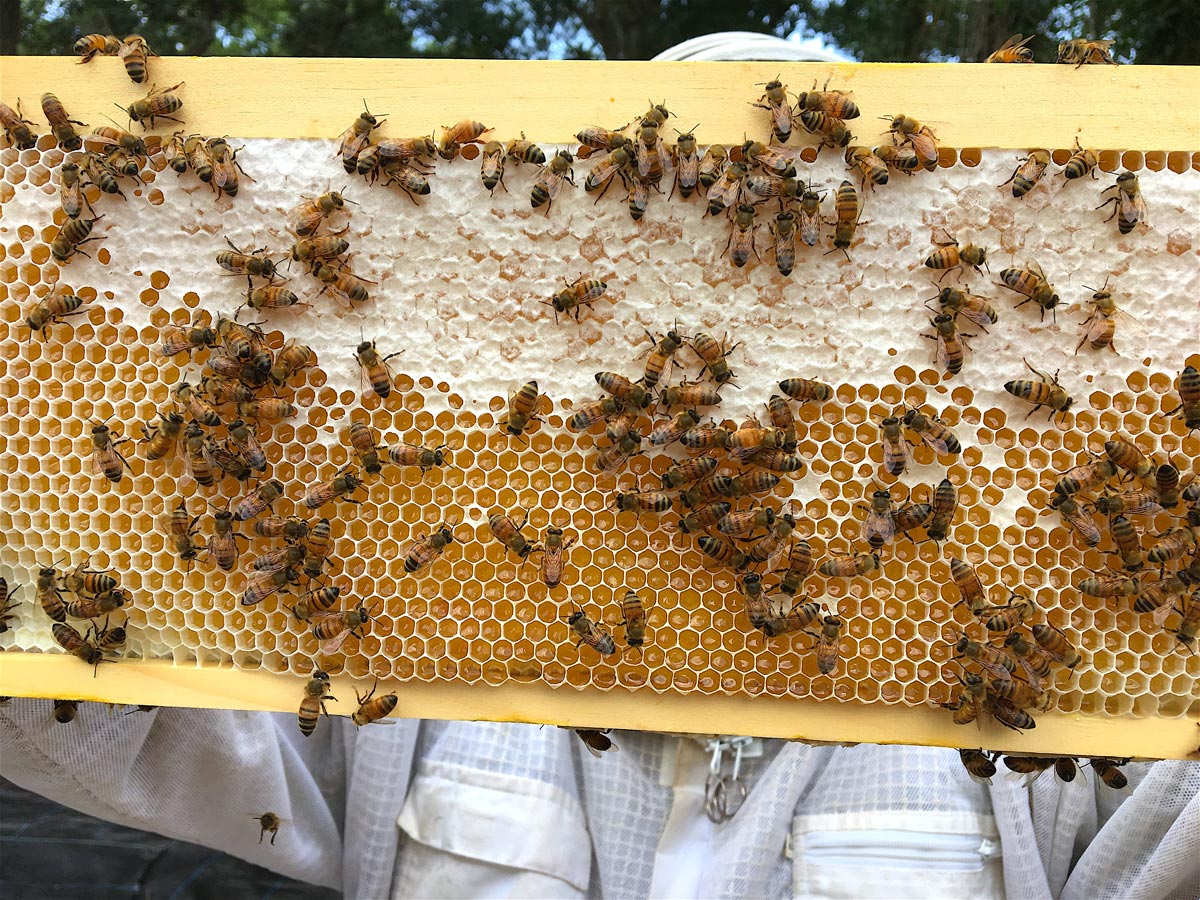
Equalizing colonies is a way for beekeepers to share resources between colonies, so that all colonies in a given apiary have roughly the same amount of brood frames, food frames, and bees. By taking full frames from a large, strong colony and replacing them with empty frames from weaker ones, you are giving the queen in the strong colony more cells in which to lay eggs.
Conversely, moving full frames from a strong colony into a relatively weak colony can provide that colony with the extra food and brood resources that it might need to be productive.
BE CAREFUL NOT TO MOVE THE QUEEN WHEN DOING THIS.
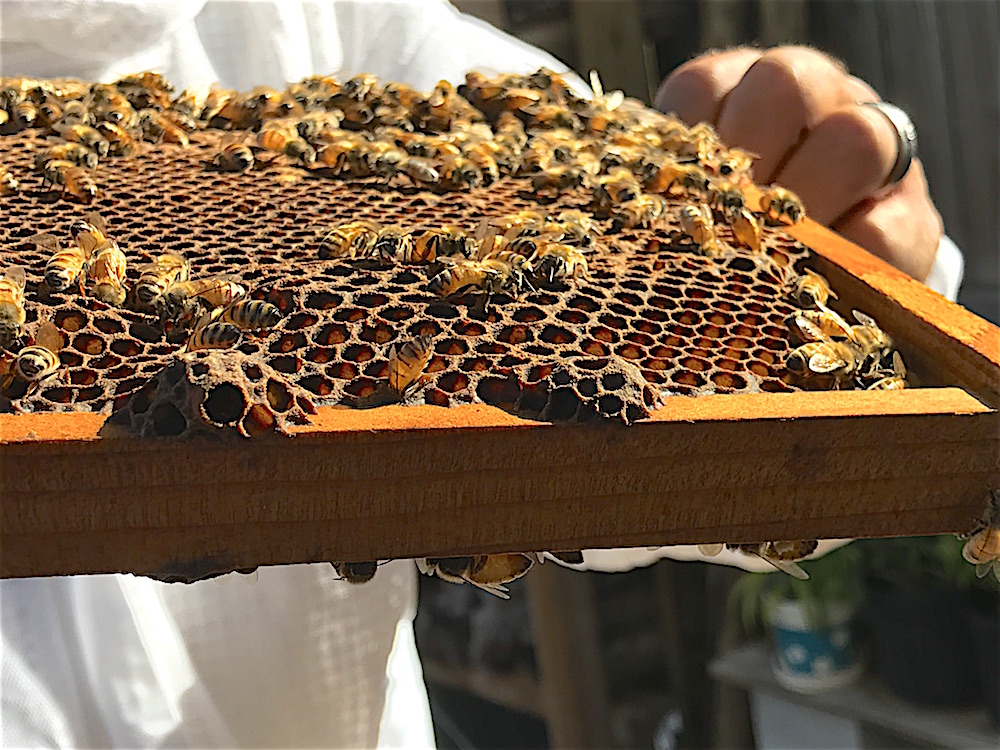
One fo the most effective ways to manage swarming is to split strong colonies. Splits, essentially, are controlled swarms, where bees, brood, and honey/pollen are removed from the strong colony and used to make a new one. You can introduce a queen or allow them to create a new one.
Splits made for swarm control purposes are usually created 4-6 weeks before the major nectar flow to allow the full size colony to regain its strength prior to production season.
MAKING SPLITS
- WHAT IS A SPLIT?
- TIME TO SPLIT?
- WAYS TO SPLIT
- HOW TO SPLIT A COLONY
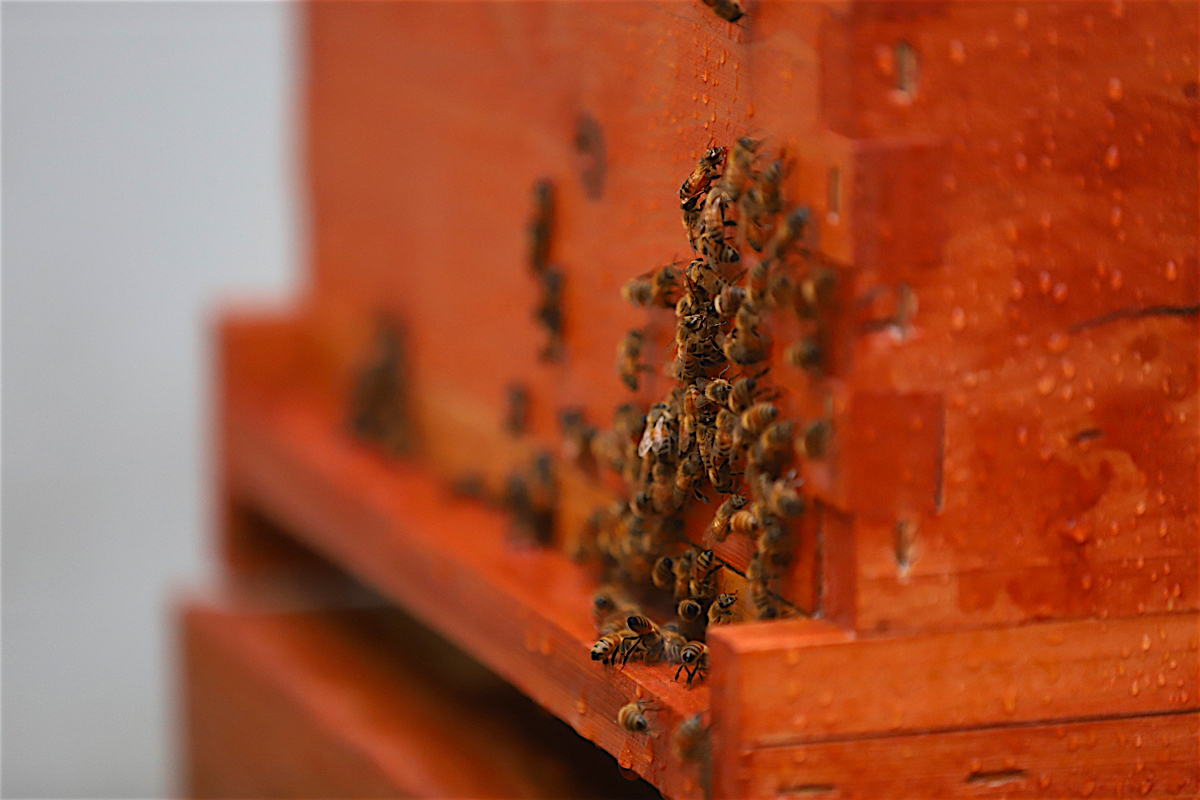
A split is a colony created from part of another colony. Splits can be used to;
- manage colony swarming.
- replace lost colonies.
- increase colony numbers.
- sell to other beekeepers.
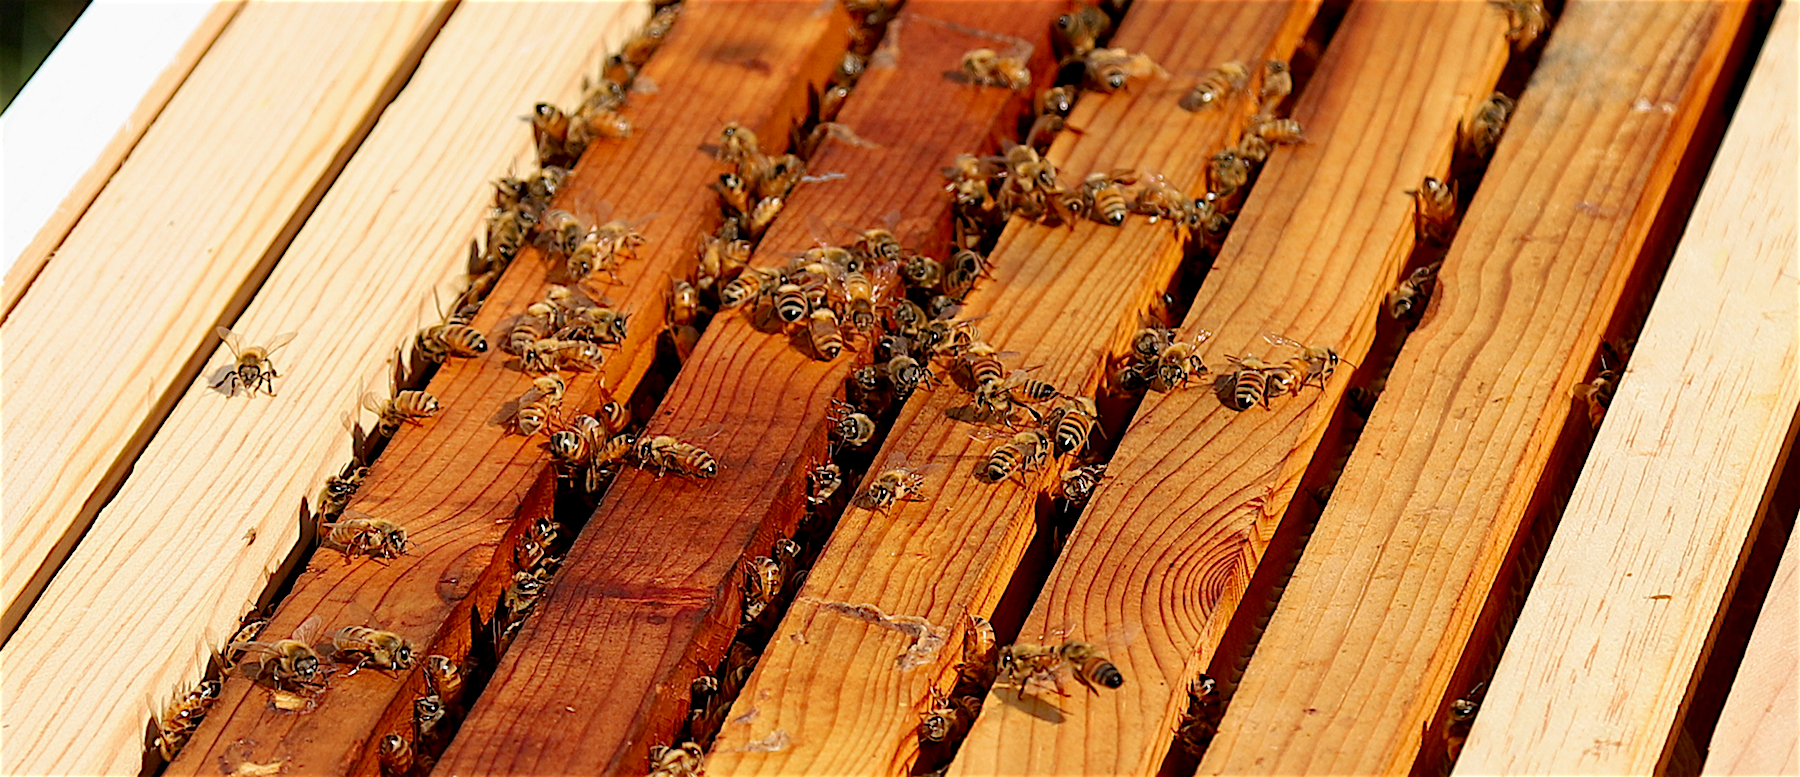
Before making a split, it is important to determine if your colony is ready. Splitting generally should be done early in spring to capitalize on the coming nectar flow. The colony to split should be free of diseases and pests and have:
- 5+ frames of brood.
- 2+ frames of stored honey and pollen.
- a healthy queen.
A colony can be split multiple ways;
- Into two nucs.
- Between the full-size parent hive and a nuc.
- Between the full-size parent hive and another full-sized hive.
These instructions are based off of splitting using the second method. The same process can be applied to the other methods. Only the equipment (boxes & frames) will change.
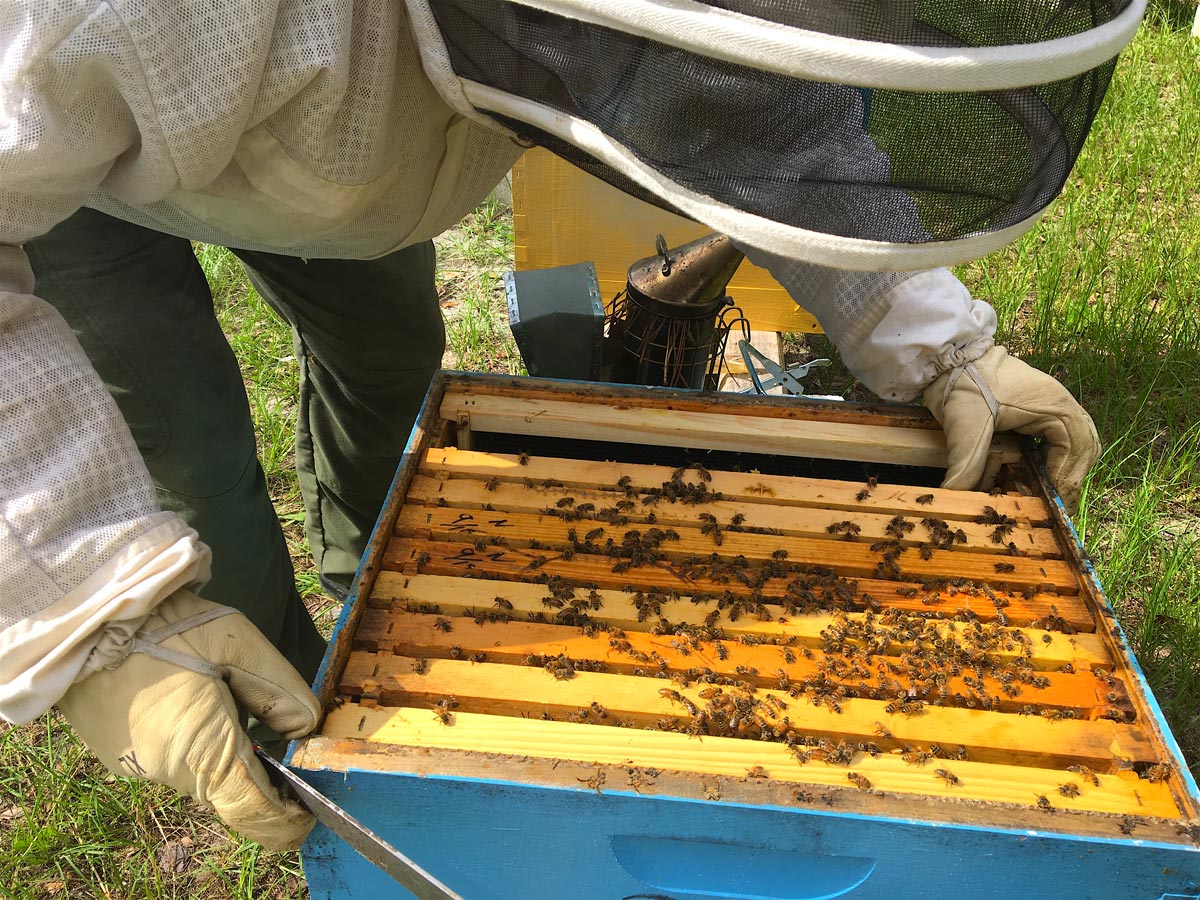
- Locate and secure the queen.
- Move 1/2 of the food & brood frames from the parent colony into the nuc.
- Arrange the frames in the nuc so the brood frames are placed between the food frames.
- Add foundation or drawn comb to the outside edges of the parent colony.
- Remove any queen cells that are present on the frames in the nuc if introducing a mated queen.
If you are allowing the nuc to requeen itself, remove all queen cells on the frames with the exception of the largest one and allow the bees to build their queen there. Nucs can grow fast and will need to be moved to a full-size hive in 4-6 weeks under typical conditions. Splits made outside fo major nectar flow need to be fed.
REQUEENING
- REASONS TO REQUEEN
- MAKING A QUEEN
- REQUEENING METHODS
- DEQUEENING A COLONY
- ALLOW A COLONY TO REQUEEN ITSELF
- REQUEEN WITH A RIPE QUEEN CELL
- INTRODUCE AN ADULT QUEEN USING A QUEEN CAGE
- REQUEENING USING A NUC
- REQUEENING USING A NUC
Requeening is the practice of introducing a new queen into a honey bee colony. There are a variety of reasons for which a colony may need to be requeened;
- The queen is failing or has died.
- You want to introduce a desired trait (e.g. gentle behavior, pest resistance) into the colony.
- You are making splits.
- Your colony has swarmed.
- Requeening can help remedy some colony ailments.
Some beekeepers annually requeen their colonies to ensure a young and vigorous queen is always heading the colony.
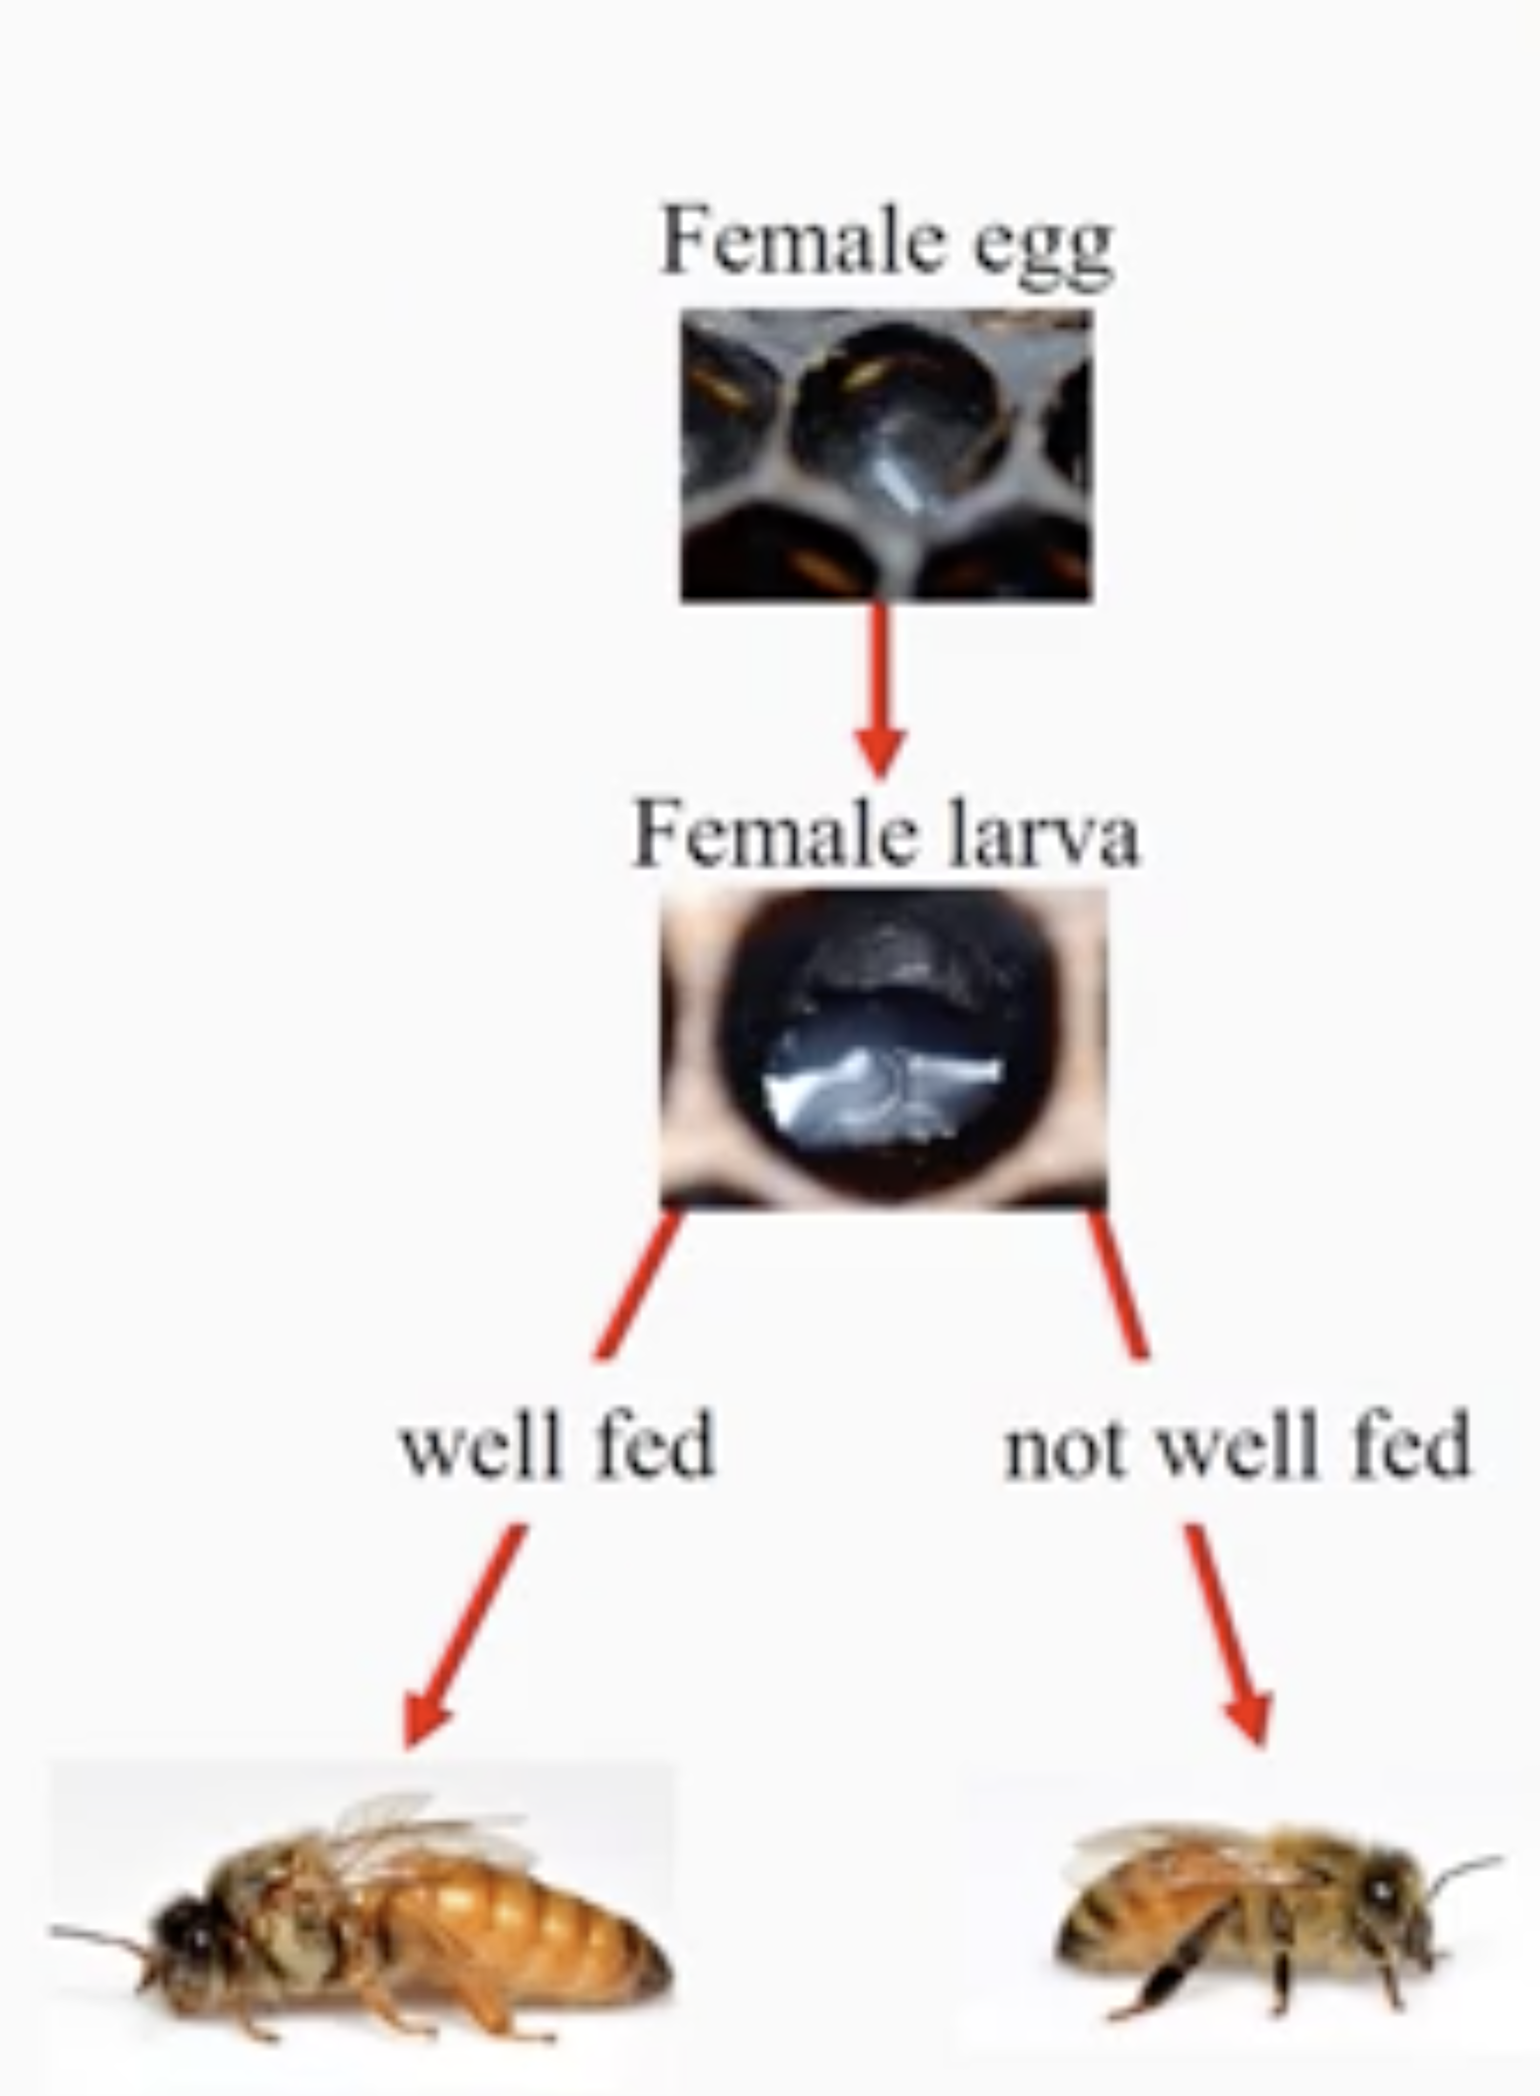
The female casts of honey bees (queens and workers) are determined by the quality and quantity of diet fed to them as developing larvae.
A female larvae that is to become a worker will be fed brood food for the first two days of its development, after which it will be fed combinations of brood food, pollen, and some honey.
A female larvae that workers have chosen to become queen will be fed exclusively a type of brood food called royal jelly during development.
Brood food, including royal jelly, is produced from worker bee gland secretions.
Royal jelly is higher in protein content than is the brood food fed to workers and drones.
There are four main methods one can use to requeen a colony.
- allow the colony to requeen itself
- insert a ripe queen cell
- introduce an adult queen
- requeen using a nuc

Colonies should be queenless before requeening. If the colony still has a queen, you must remove the old queen before introducing a new one.
The old queen can be used in another colony (less common) or euthanized (more common). Beekeepers euthanize queens by pinching them (usually referred to as "pinch a queen:).
A colony is more likely to accept a new queen if it has been queenless for a day or more.
Honey bee colonies have the ability to requeen themselves. Allowing a natural requeening is only a viable option if there are female eggs or very young larvae in your colony. The worker bees will choose one female larvae to become their new queen.
When a colony requuens itself, the workers can choose any young female larva not older than two days to become the new queen. Often the colony will rear more than one queen when requeening to ensure that at least one makes it successfully to adulthood. While this is a low cost (free) method of requeening, there are some drawbacks;

It can take 3-6 weeks for the queen in the ripe queen cell to emerge from her cell, mate, become an egg-laying queen, and have offspring emerge from their cells. There is a possiblity that your new queen will not be mated well, depending on the local drone population.
Worker bees can choose inferior female larvae to use.
Leave the largest 1-2 queen cells in the nest. Remove all other queen cells.
You can move frames of eggs/young brood from a queenright colony to the queenless colony if the latter no longer has developing females from which to make a queen.

Check the colony after two weeks to determine if the new queen has emerged, mated, and is laying. Allow one additional week if you see the queen, but do not see eggs or young larvae (an indication that she has not mated). Virgin queens can be hard to find.

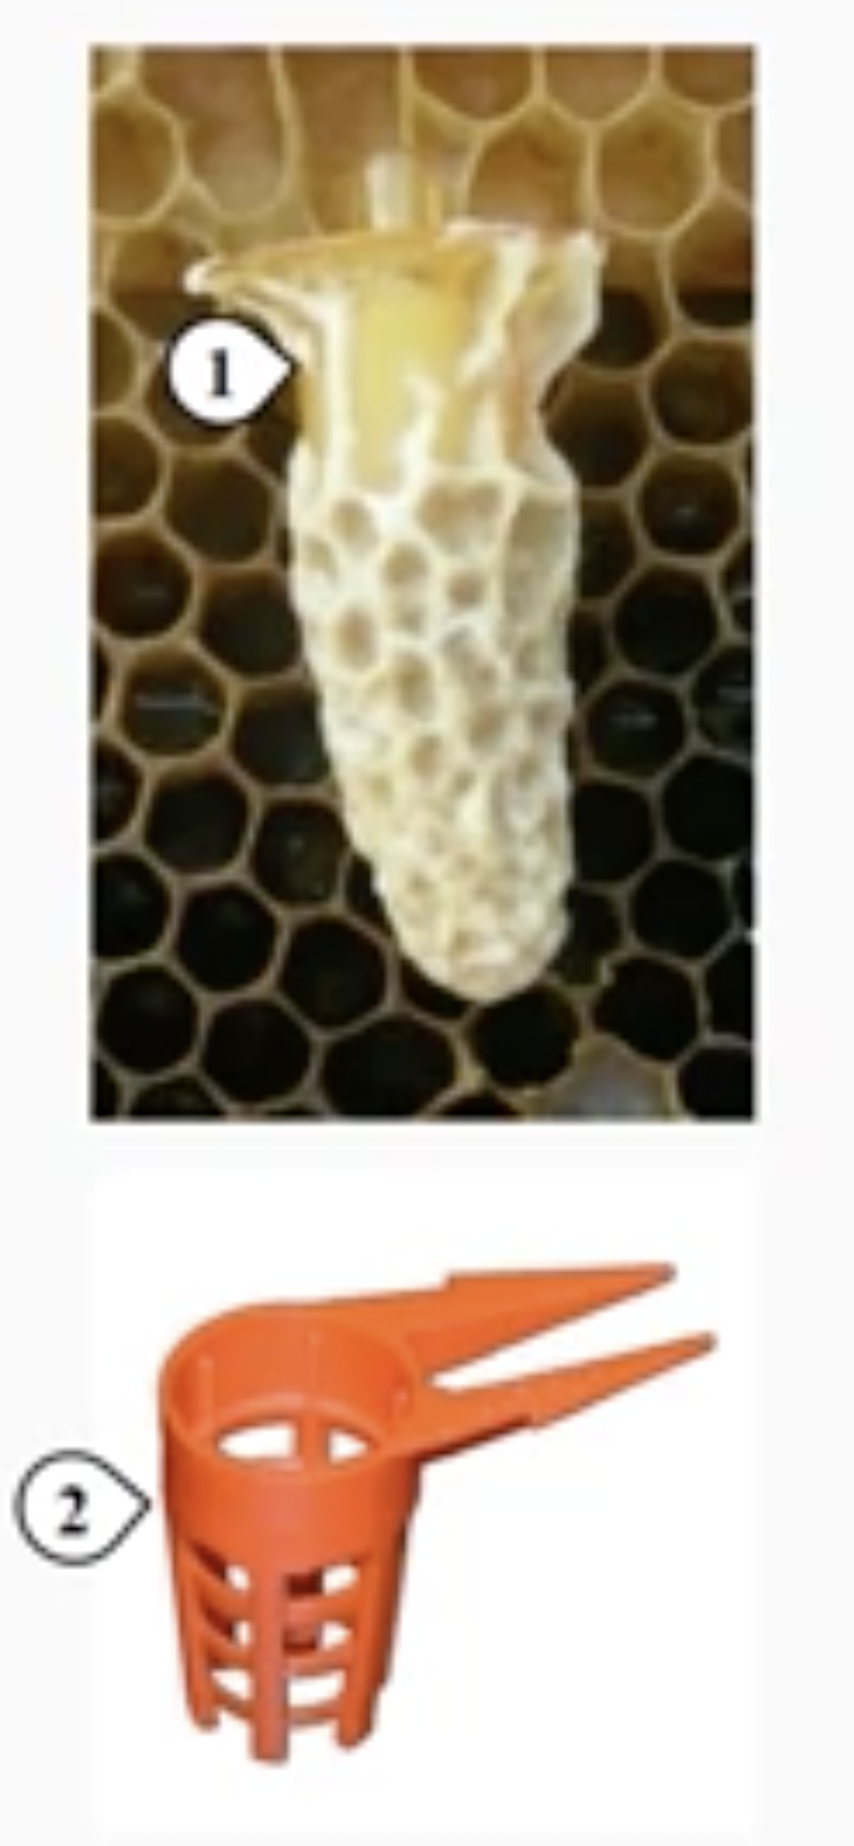
You can also requeen a colony by inserting a ripe queen cell. You can either produce queen cells yourself, or you can purchase one from a supplier (a queen breeder/producer). Queen cells are generally cheaper to purchase than adult queens.
A ripe queen cell can be gently pushed into the wax comb of a brood frame or slid between two frames from above.
Be very careful to push only the queen cup portion of the cell to avoid damaging the developing queen. A queen cell protector can be used.
With this method, you will have to wait 3-4 weeks for a new queen to emerge, mate, and begin laying eggs.
Be aware that the resulting queen may fail to mate appropriately. I f this happens, you will need to repeat the requeening process.
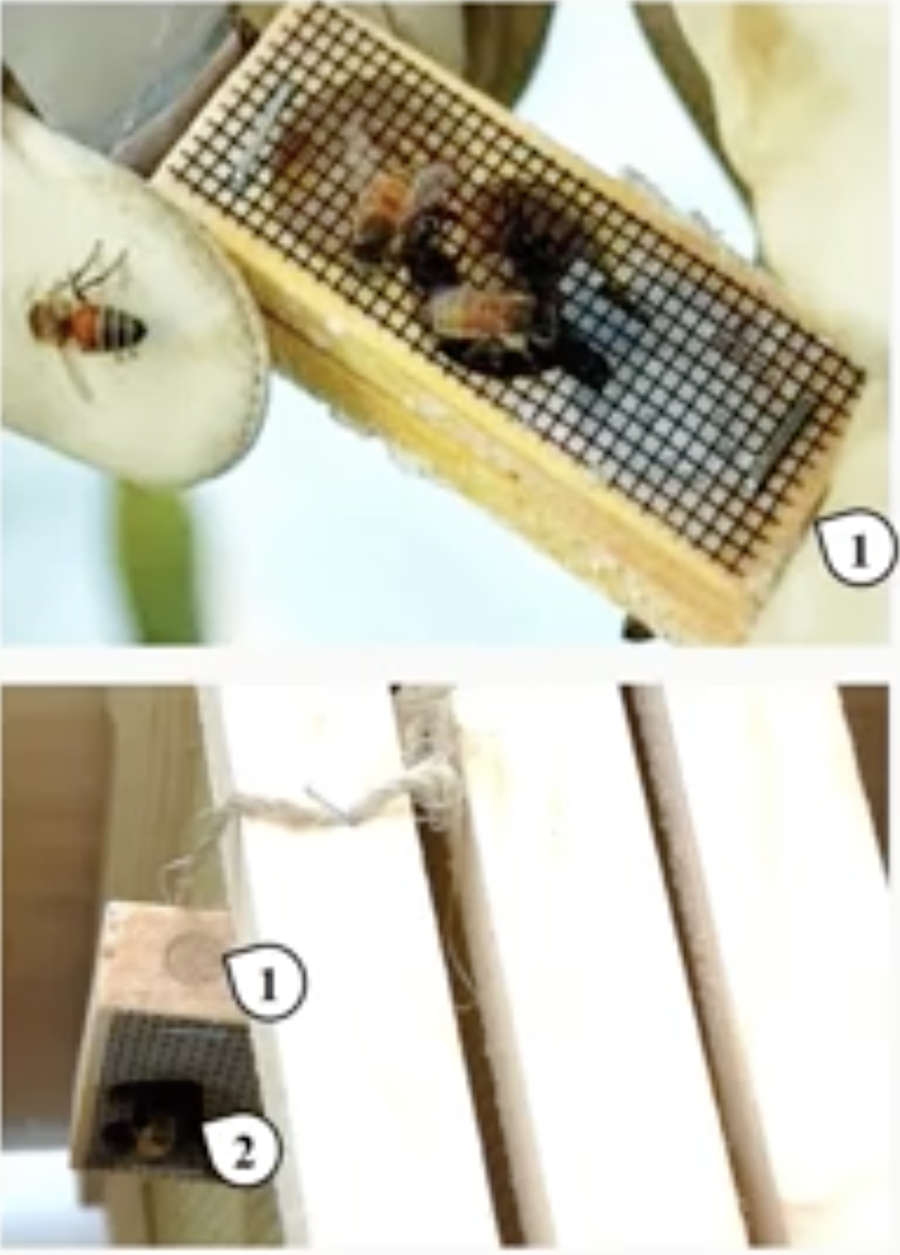
Introducing a caged adult queen is the most common method of requeening managed colonies. Mated and unmated caged queens can be purchased from queen breeders and some beekeeping suppliers.
Virgin queens typically cost less than mated queens, but are a riskier purchase (they need to mate). Furthermore, a virgin queen will not begin to lay eggs as quickly as a queen that has already mated. Typically, mated queens are purchased for requeening purposes.
Never release a new queen directly into a colony. The workers will likely kill her. Slide the queen cage between two frames with the hole that the queen will exit is pointing up. Remove the cork on the candy end of the cage. Make sure that the screen part of the wooden cage points to the space between frames rather than directly at a frame. The workers should release the queen by chewing through the candy in 2-4 days. You can manually release the queen as well.
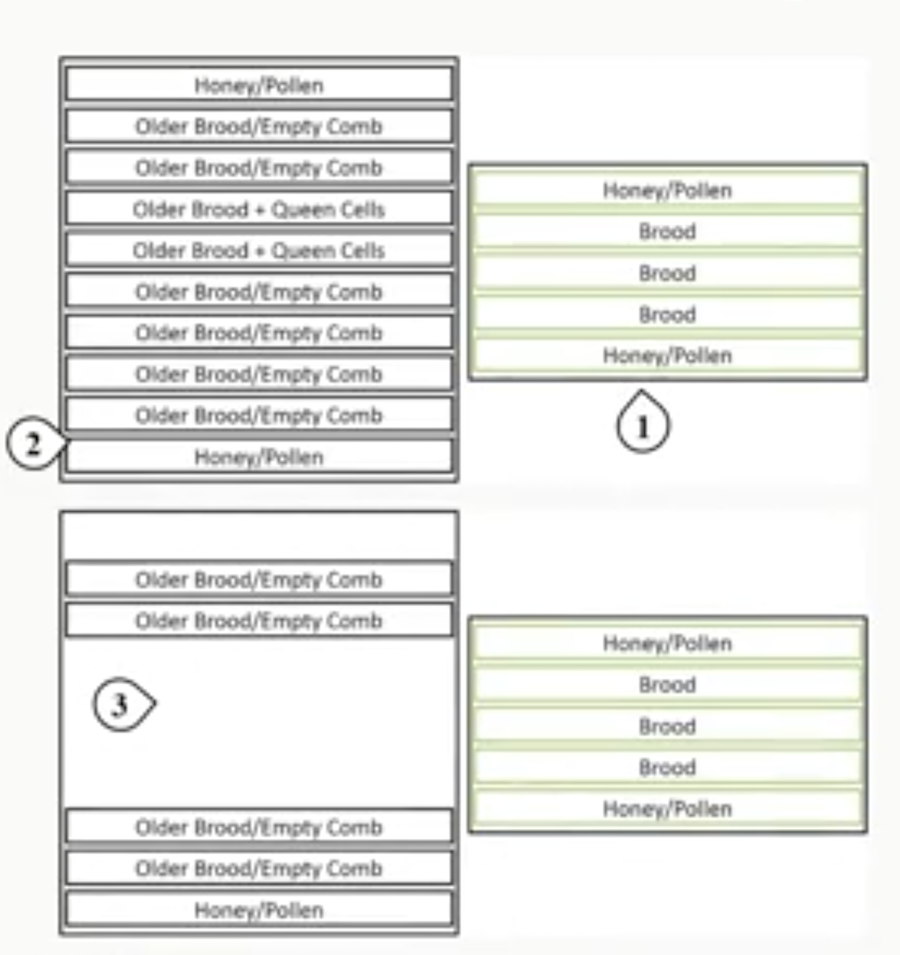
Have nucs available to use when requeening a colony. Keep one Nuc per 5-10 full size hives. Requeening with Nucs allows you to give the queenless hive a new queen, bees, brrod, honey, and pollen instantly.
However requeening with Nucs requires you to have Nucs available and the xtra equipment necessary to manage the Nucs.
Move your queenright Nuc next to the queenless, full size hive.
Remove five frames from the queenless hive. At least one should contain queen cells if you intend for the Nuc to requeen itself. The other frames can be honey pollen (1-2 frames) and brood (2-3 frames).
Essentially you will use the frames you remove from the full size hive to start a new Nuc.
Remove any queen cells present on the frames that are remaining in the full size hive.
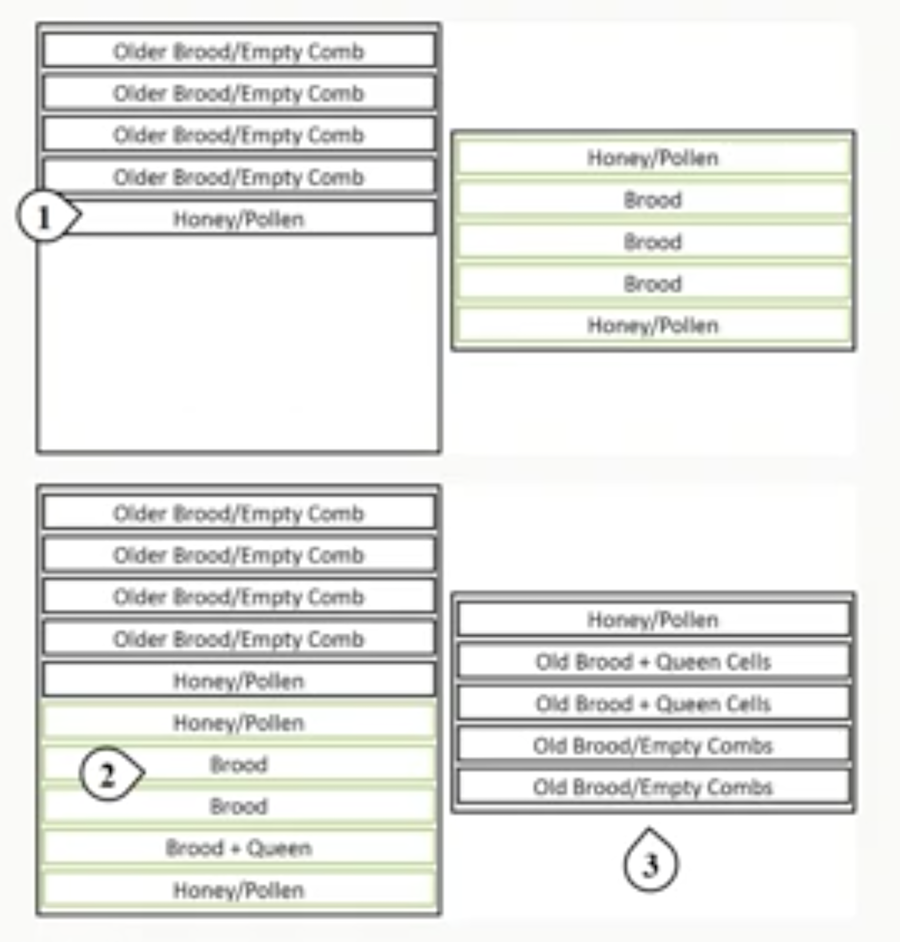
Push the frames in the full size hive to one side of the hive body.
Move all five frames taken from the full size hive and place them in the Nuc.
Move your Nuc to a different location (2-3 miles) to allow it to requeen itself.
Some people cage the Nuc queen during the move out of concern for her acceptance on the full size hive.
